Hey guys,
Here is the third instalment of my series and in this part, I'll be going through the in-depth process of how I created the displacement map for my character.
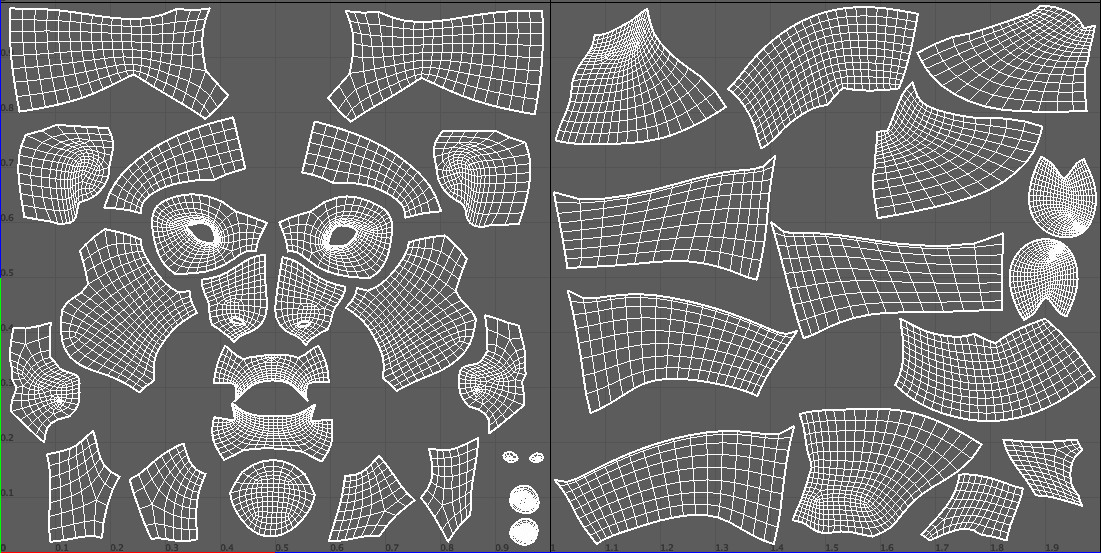
A note I want to make is since the last post the UVs have changed. This was because of the way ZBrush reads objects with multiple UV tiles. So, I simplified the UV tiles to just two, with the face being on one and the neck and shoulders on the other. This will make the process of importing a displacement map in ZBrush much more simpler and effective.
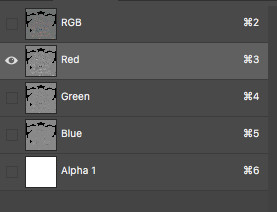
I started off by purchasing a displacement map from Texturing XYZ, in this case, it was the Female Face 30s #10. They supply you with 3 detail maps, one is secondary data, the other tertiary data and for the fine details, micro data. I chose the secondary map as my main file and saved it under a new file name, I then pressed cmnd-A (on a mac) to select the canvas and copied and pasted the secondary map into its red channel. I headed over to the tertiary map and did the same, pasting the map into the green channel of the main file. Again, the same for the micro map, pasting it into the blue channel. Secondary - R, Tertiary - G, Micro - B.


Once the map has been projected onto the model, these will then be separated back into 3 detail maps. Regions are then cropped (the nose, left and right cheeks, lips and forehead) to maintain the resolution of the scanned data, since the original file is too large as one piece.
In Mudbox now, I imported my model and one of my images as a stamp. I started off by aligning, as best I can, the image with my model. I used the projection tool to project the data. Of course, nothing will align perfectly, the best way to do this is to constantly move your model around and manipulate your image so you can get the best projection possible. I try not to be too precious when I start since I'll most likely be painting over these areas later; it's good just to block out where things will be first and clean it up later.


I eventually imported all of my images and projected them. There are gaps in the Texturing XYZ scanned data which can easily be filled by projecting an area of an appropriate map. Also, a little trick which I found helps, and is also demonstrated by Dan Roarty, is to create a sculpt layer and manipulate your model to fit the Texturing XYZ maps. This is especially helpful on the lips and eyelids. Once projected, you can turn off the sculpt layer and see if it gives you the results you wanted.
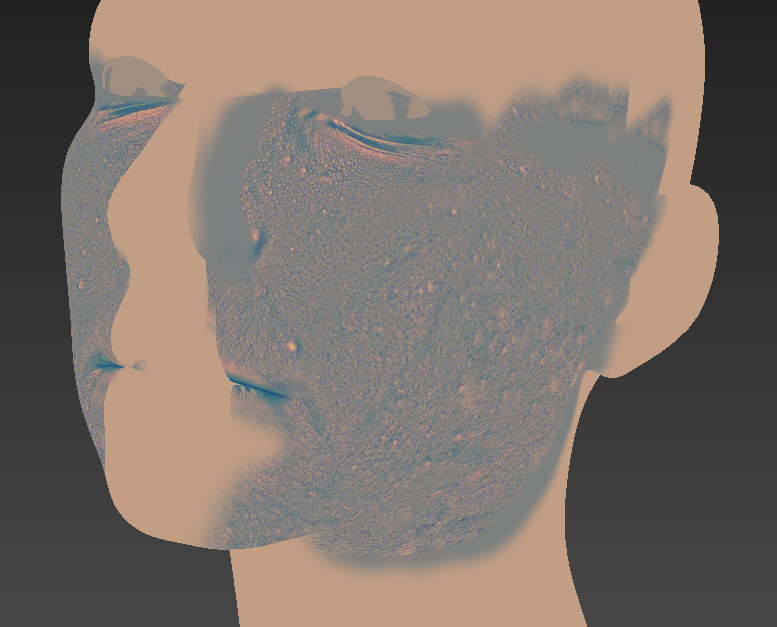
Additionally, press W to activate the wireframe mode to ensure that you align your detail with your topology too, for example, the lip line, the corner of the nose, the eyelids etc. This process takes time and patience, but you'll get there in the end.

Afterwards, I exported the merged channel back into Photoshop with the resolution of the map being 4096x4096. I opened a blank file with these dimensions and in the channels box, I made only the red channel visible. With this channel selected, I selected the canvas, copied and pasted it into the blank file (make sure to paste it in place, cmnd+shift+V). I do this for both the green and blue channel, each one saved as secondary, tertiary and micro respectively. Here are the three maps:
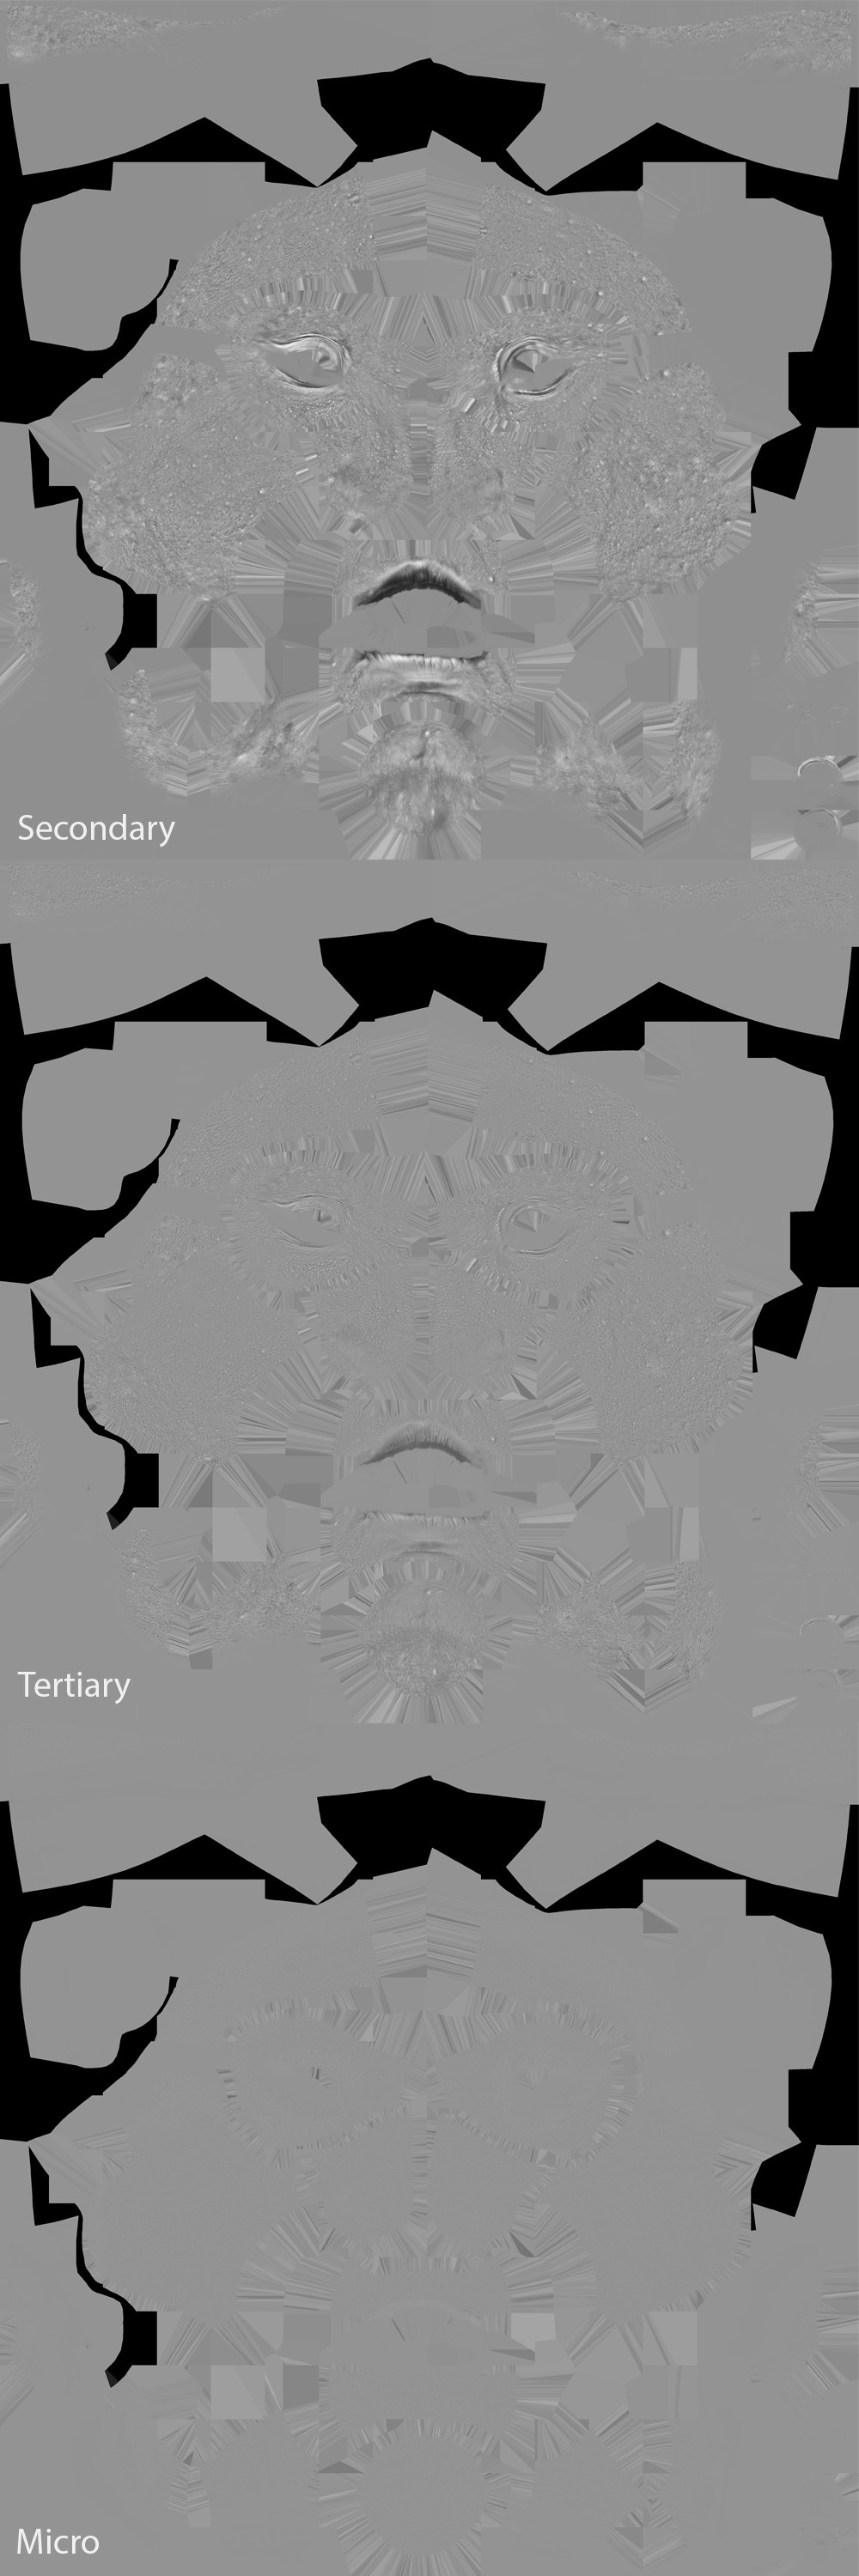
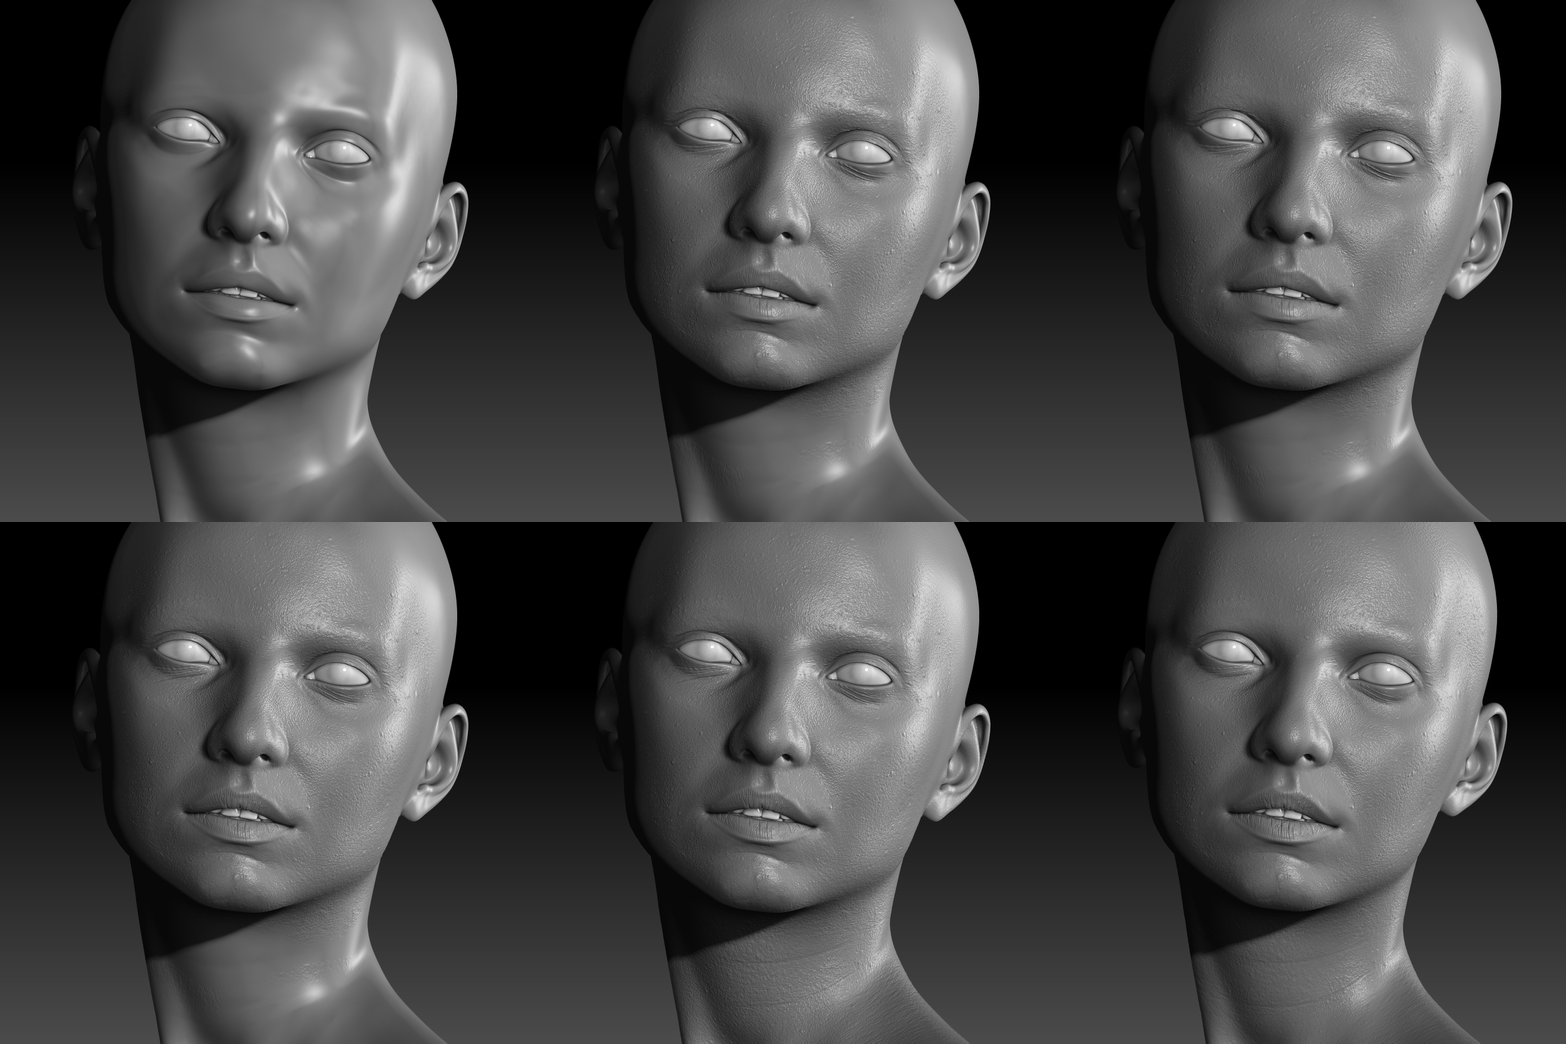
I then opened my scene in ZBrush and subdivided my model to an appropriate level. When my model hit 30M polys the scene lagged, which would be disruptive to my workflow so I chose to settle for 7.5M (6 subdivisions in this case). I added a new layer to my scene and imported the secondary map as an alpha. I then headed over to the Alpha window and hit flip-V, since this is the orientation in which ZBrush reads maps. After assigning a new texture to the model, in the displacement map section I imported the alpha and adjusted the intensity. Since this map is on a layer, I can afford to overcompensate the level of detail since it can be lowered later on. I then did the same for the other two maps, each on their own layers.


For a model with more than one UV-tile, when applying displacement, the detail gets applied across all of the tiles. In order to get the displacement to just apply to the face, I polygrouped and masked the face and then, using a morph target which was set at the start of this process, I completely morphed the rest of the body back to its original state.


From this point on, all of the sculpting that happened was a manual process and pretty much just involved filling in the rest of the model with detail and a general cleanup; I used a mixture of the noisemaker and hand sculpted details to do this. A good tip is to use the Dam Standard brush with the alpha set to something of your choice and set the stroke type to spray which can give a really nice effect.
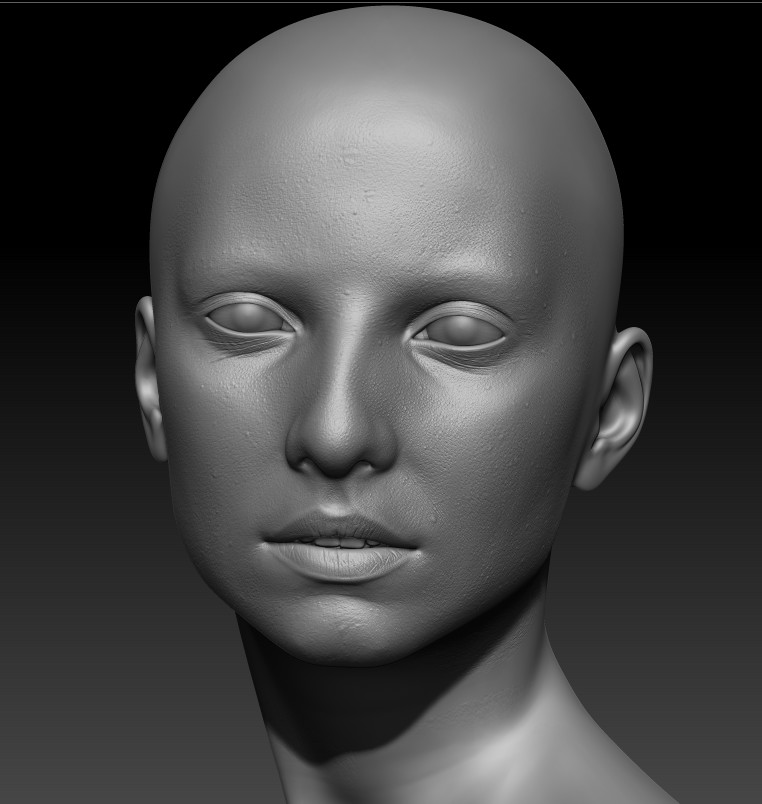
Make sure to grab a bunch of references and use them to help you sculpt realistic looking details. Also, Flipped Normals gave a useful tutorial on YouTube on how to enhance details, which is to smooth an area of your model on a new layer and then invert this layer (setting it to -1). I used this technique for the lips as I find that lip detail gets easily lost when materials are applied later in Maya.
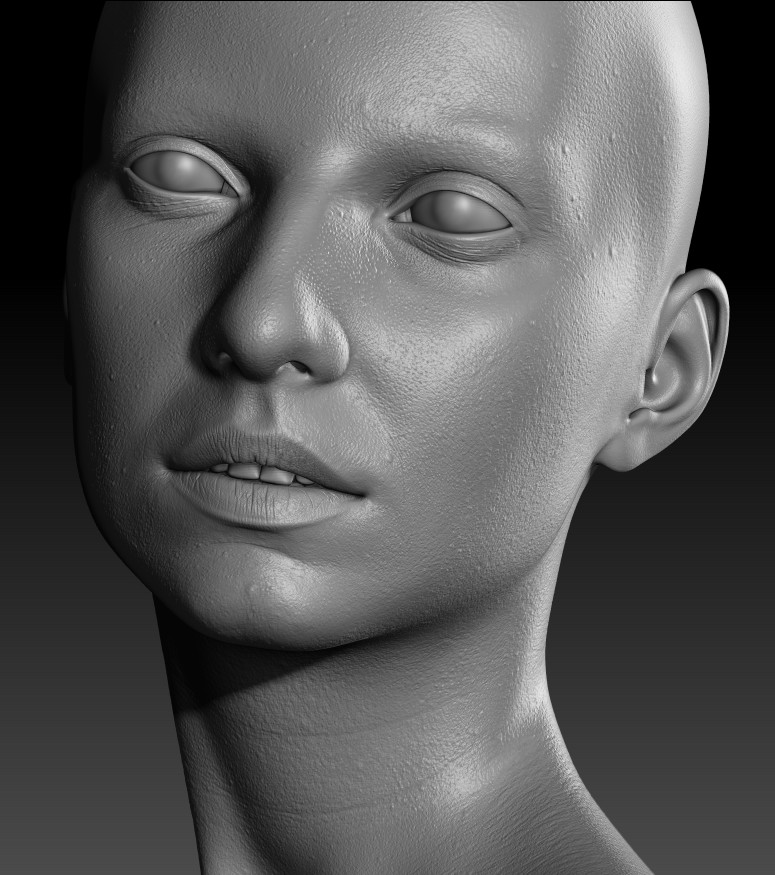
For areas of the skin that I wanted to soften, I dropped the subdivision level down to 4 or 5 and smoothed that area, that way when I go back to its highest level the details are softened nicely. I would recommend not smoothing your details at the highest subdivision level if you want to reduce the detail because it destroys the look of the skin.
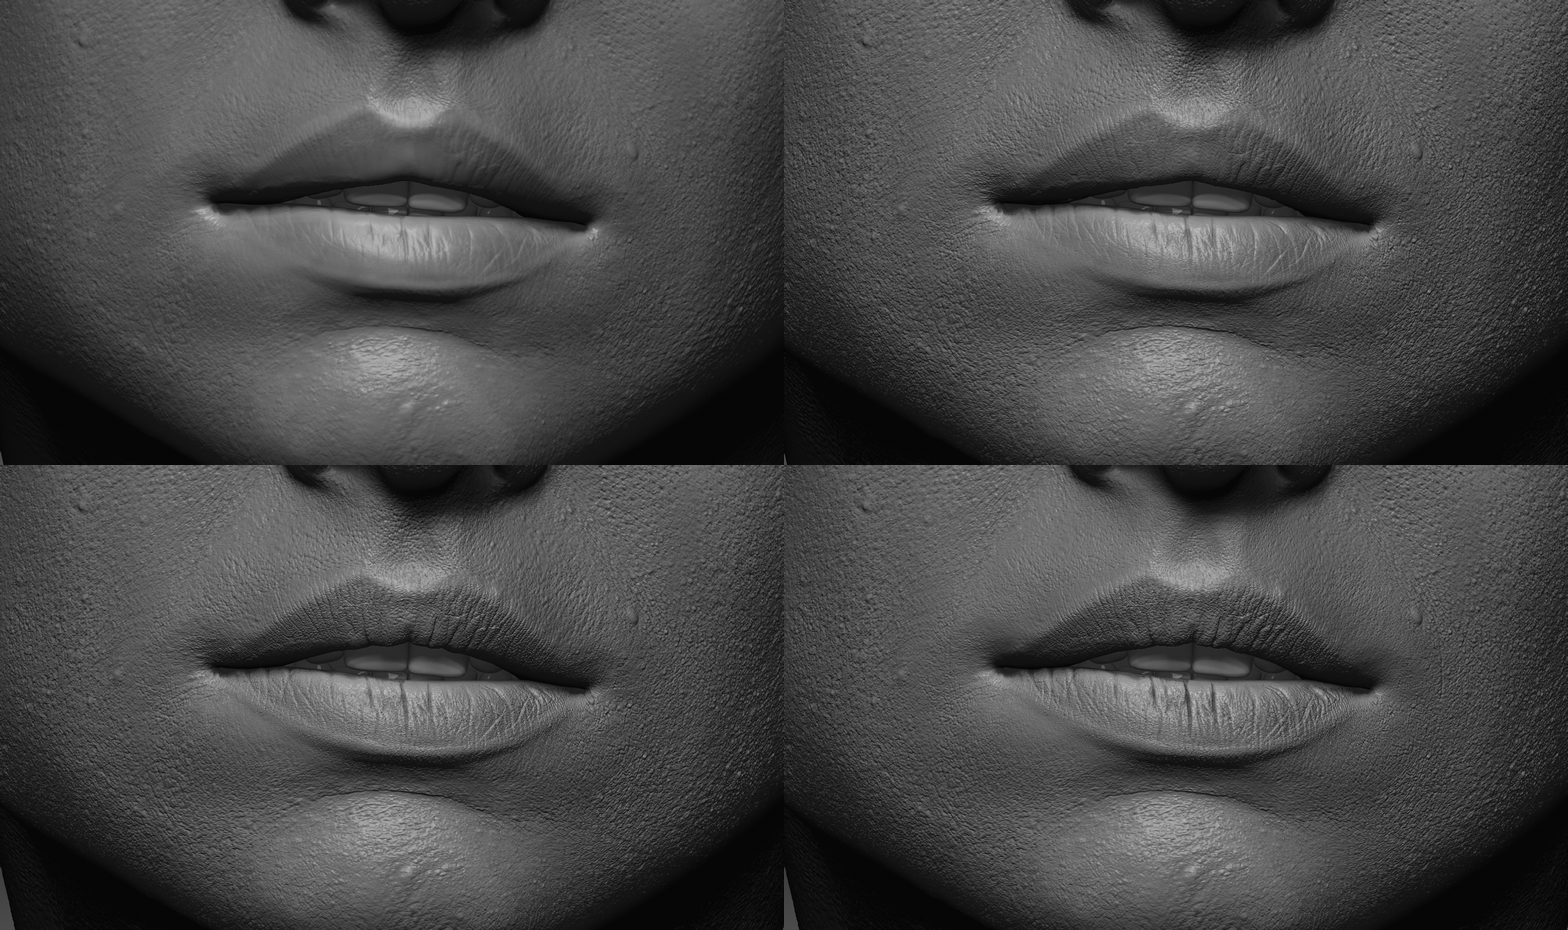
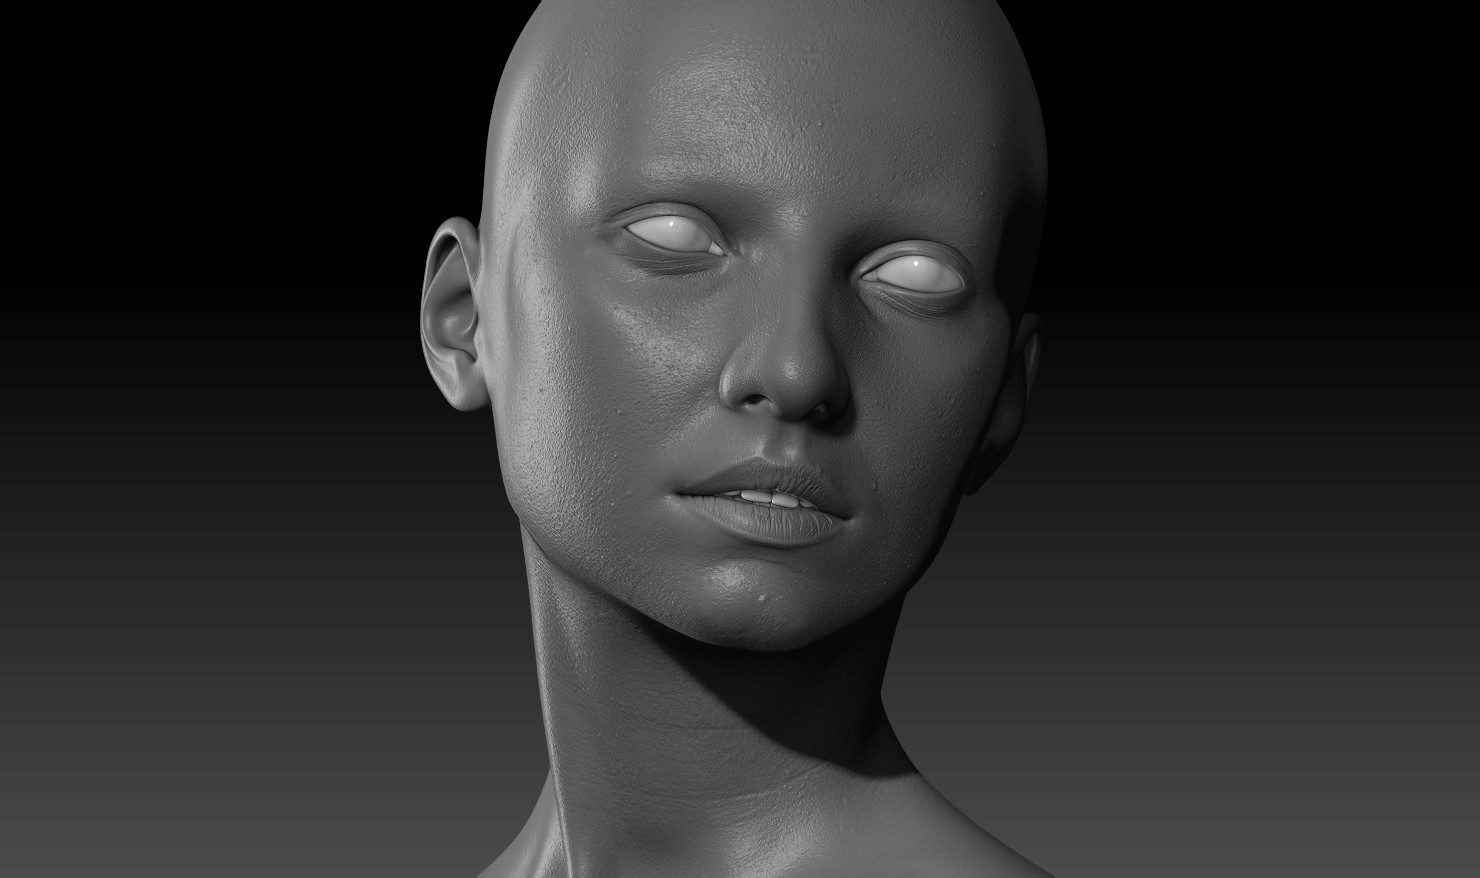
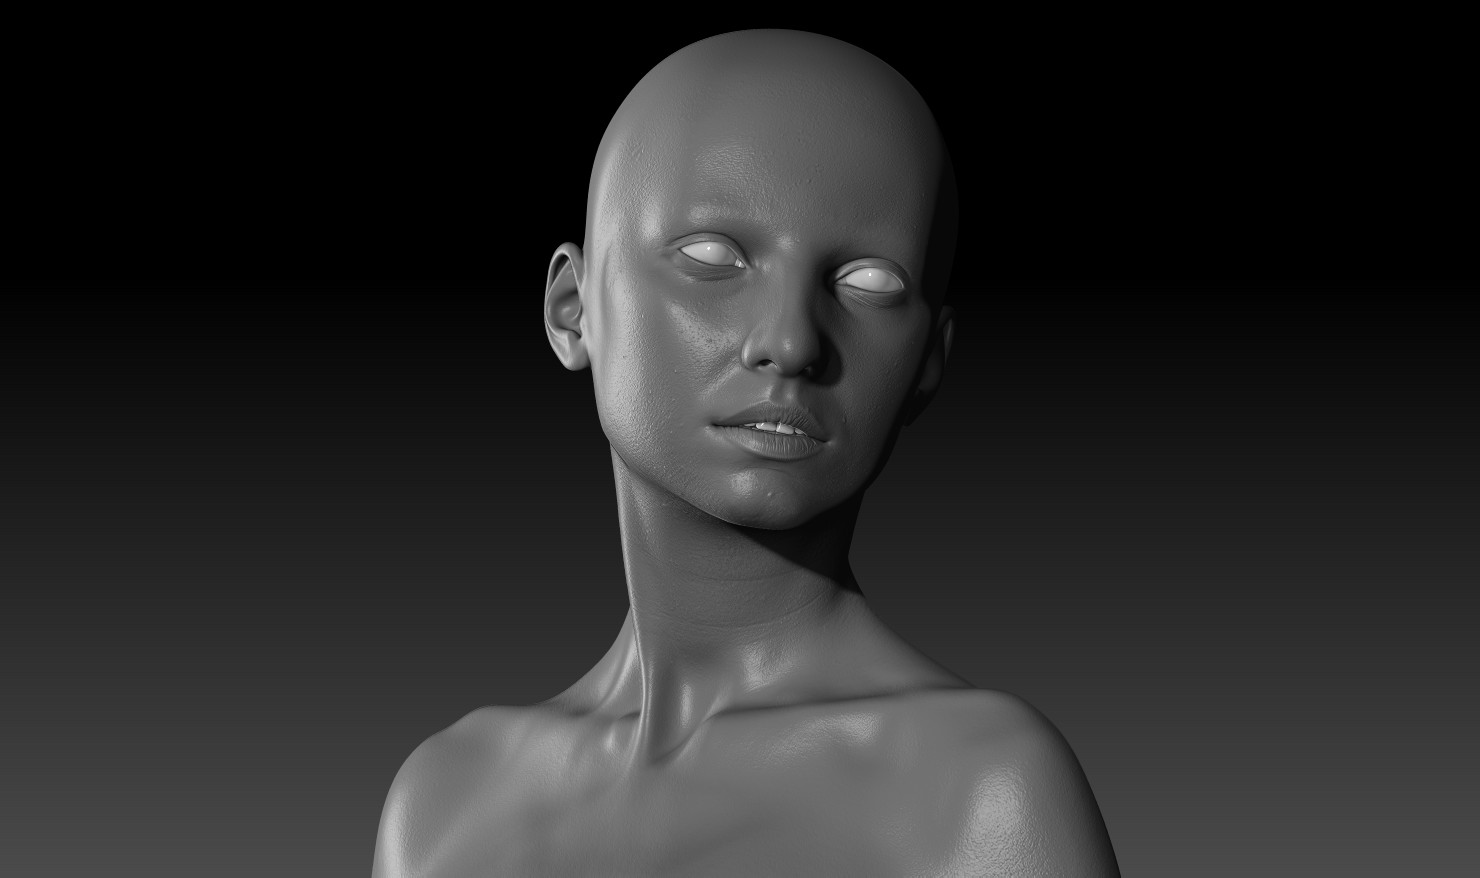
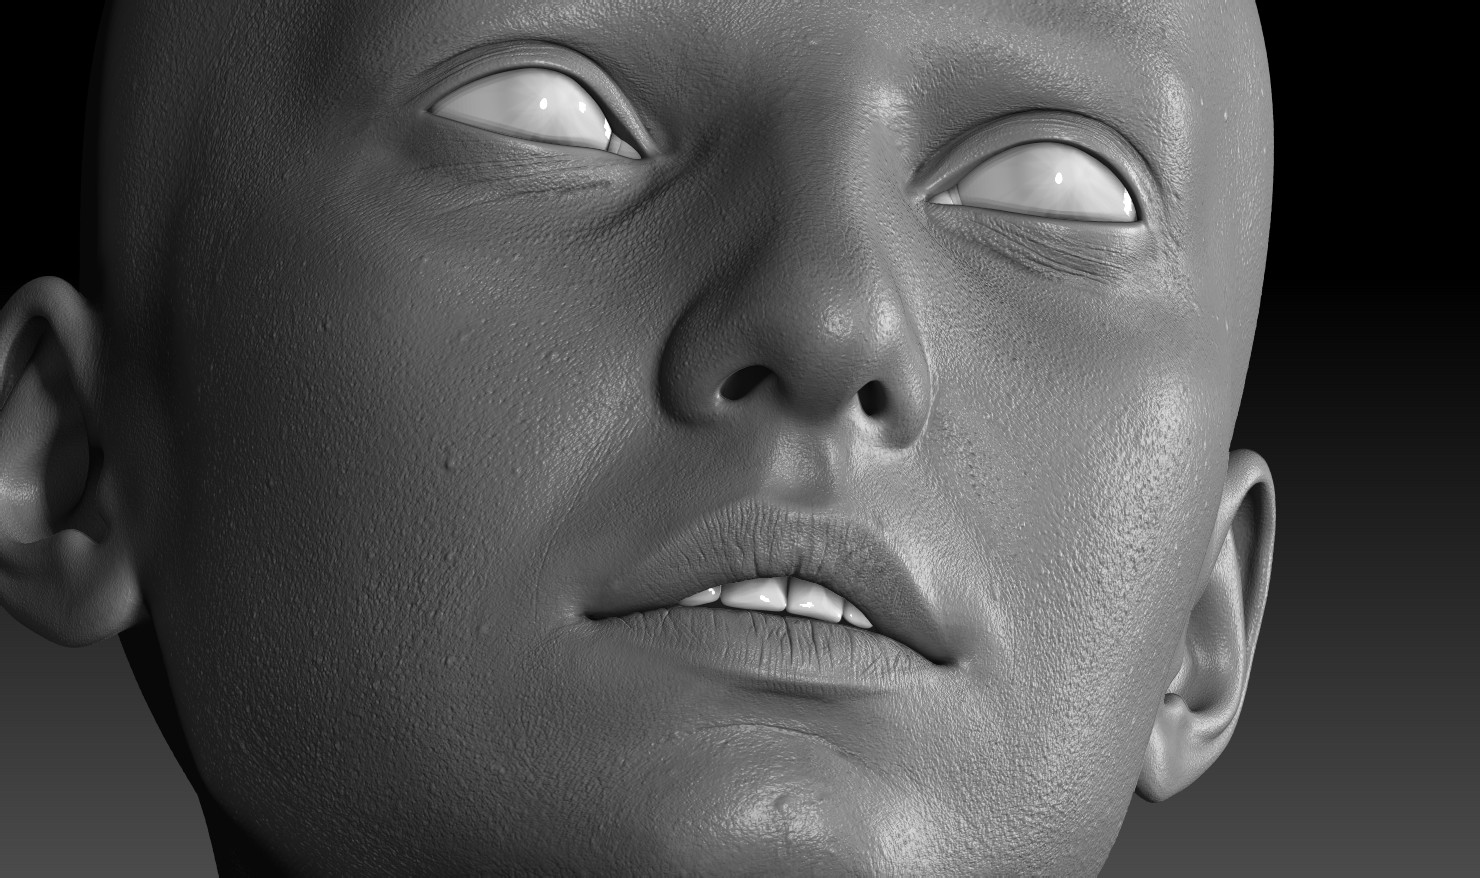
Here are shots of the final displacement map. When I begin the look dev process, I'll be going back and making tweaks here and there but this is the final look for now.
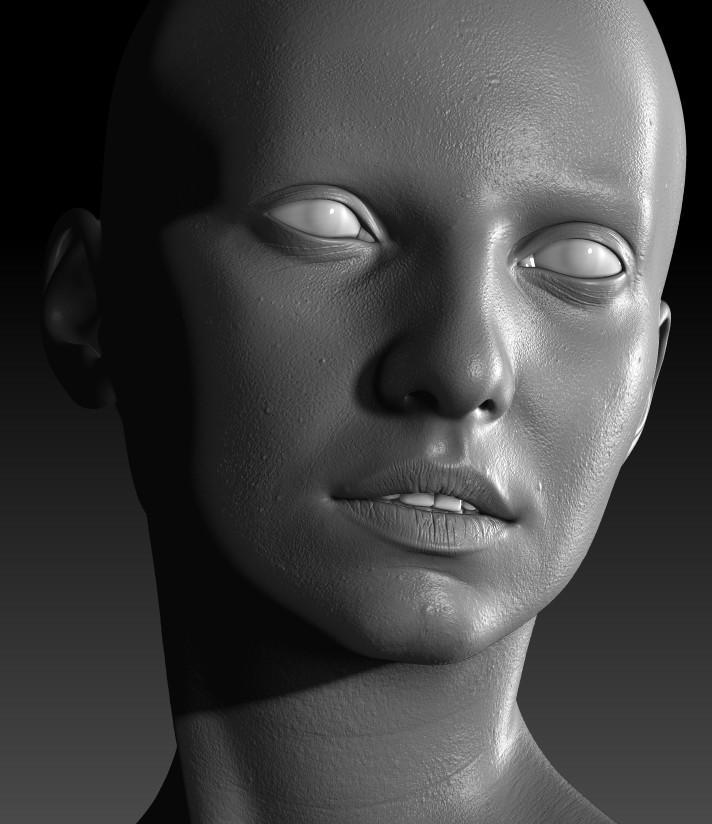

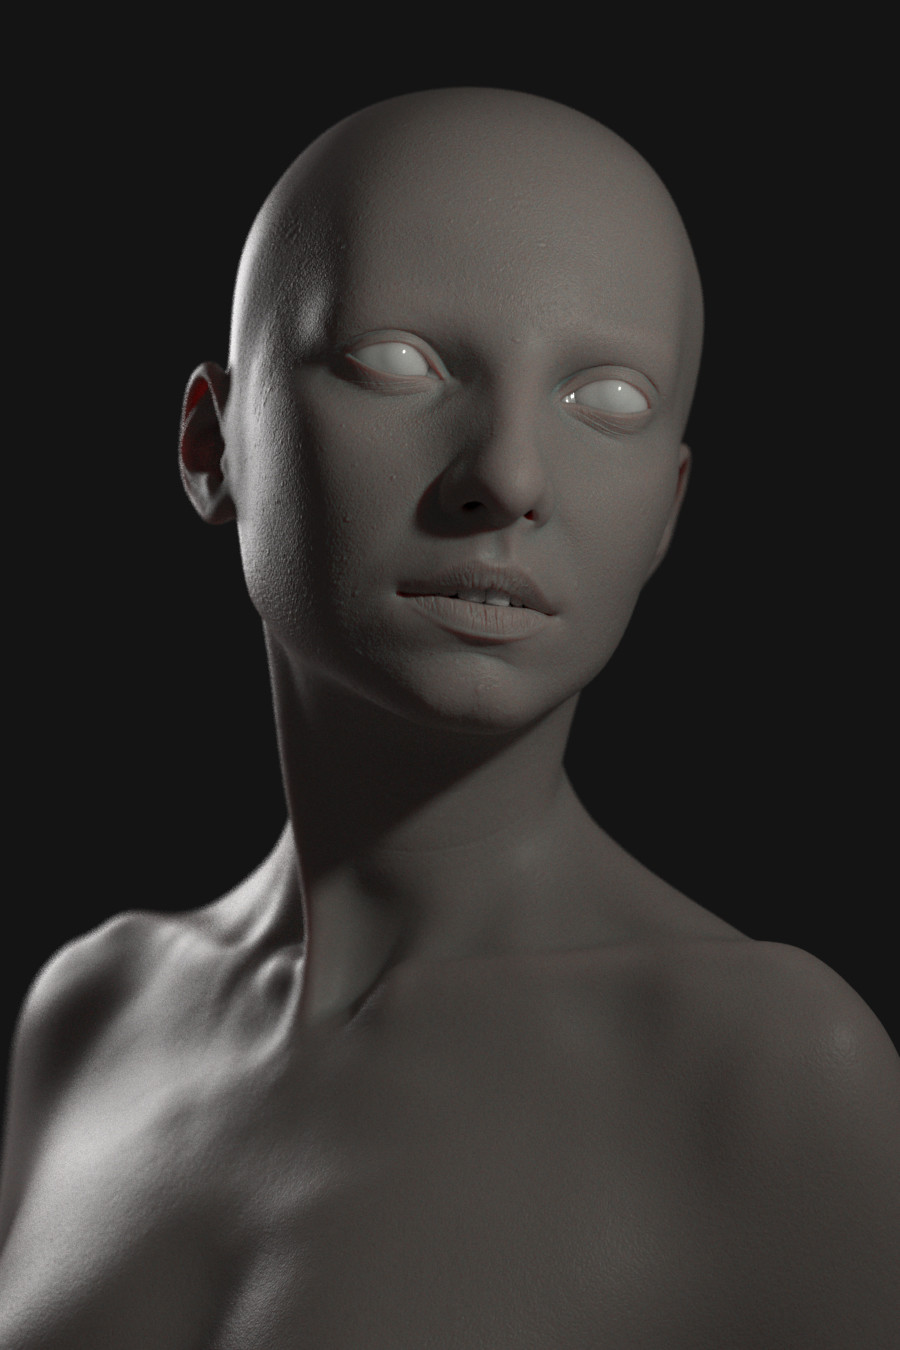
Thank you for reading, creating the diffuse map will be next!
Sefki
Useful Links:
https://www.youtube.com/watch?v=lx-EtgZ9pTM&list=PLklk5VvcgwJAa6SOHhUC-mnf2Mlfftxyq
https://www.youtube.com/watch?v=WLz6XEcjk78